Creating Your Dream Wedding Website A Step-by-Step Guide
Introduction
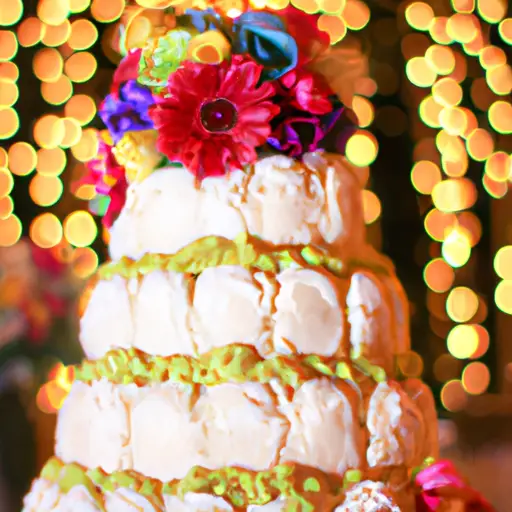
It’s wedding season, and couples all over are scrambling to figure out how to get the word out about their special day. Wedding websites are the perfect way to do this – but how does one go about creating one of these awesome sites? Let me show you! Creating a wedding website isn’t as hard as it may seem. It can be an overwhelming task at first, but with a little bit of planning, you’ll have your website up and running in no jiffy. Plus, having a website can be hugely beneficial for your big event: you can use it to share photos, track RSVPs, host a gift registry, and so much more. So stick with me, and I’ll walk you through everything step-by-step. Ready, set, let’s go!
Gettin’ Started on Yer Weddin’ Website
So, you’re ready ta start plannin’ yer weddin’ website, huh? Well, first off, you’ll need ta choose the right platform ta host yer page. Options like Squarespace and Wix are great places ta start. They’re easy ta use an’ affordable. Then buy a domain name from websites such as GoDaddy or Namecheap. Make sure it’s something catchy!You don’t want nobody forgettin’ what site they’re supposed ta visit.
Now that ya have the bones of yer website sorted out, let’s design it. Pick out a template that best suits yer style – there are lots of delicate an’ dandy ones out there. You can customize this further by addin’ fun photos, videos, an’ info about yer special day. Don’t be afraid ta get creative! You could include your love story, engagement photos, an’ even the gift registry links.
Finally, make sure yer website is all squared away before y’all launch it. Double check ta make sure all the details are current an’ accurate. Set up RSVPs an’ gift registries for folks ta access easily. Once everything is verified, go ahead an’ hit publish!
Designing Your Website
When it comes to designing your wedding website, you want to create something that is both visually appealing and user friendly. This means taking the time to choose a template that works for your taste and needs.
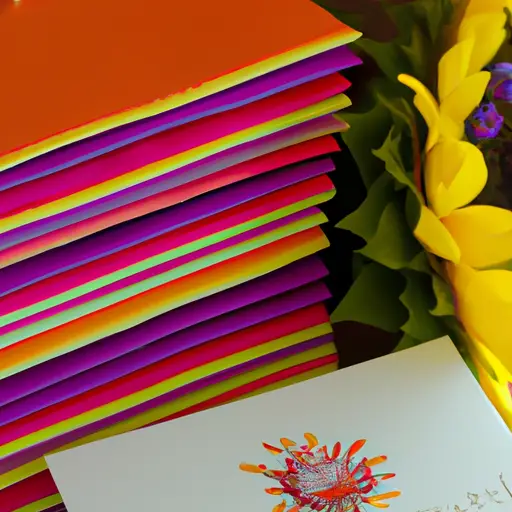
Now’s the time to get creative. Play around with fonts, colors, and graphics to give your website a unique feel. You could even explore creating custom graphics or artwork for your site if you’re feeling bold!

Don’t forget about adding content and images! Weddings are all about memory-making, so make sure to include your favorite photos from engagements, showers, and the like. You don’t have to go overboard here; just pick a few that really show off your love story. If you’re having a destination wedding, definitely include photos of the venue, too.
When you’ve got everything looking nice and polished, make sure all of the info, like date and location, is correct and up to date. If you need help filling out the rest of the details, don’t be afraid to ask family and friends. They’ll likely be more than happy to lend a hand and share their wisdom.
Final Touches
If you’ve finished setting up your wedding website, then congratulations – it’s almost time to hit send! But wait – not so fast. Before you launch the page, there are a couple of additional things you need to check off your list. Let me break it down.
First things first: accuracy. You want to make sure all the details in the information you share on the website is accurate, from dates to addresses. It’s a good idea to double (or even triple!) check everything before you make it public – you don’t want to be caught out making any small mistakes.
The second item on this checklist? RSVPs and gift registries. If you’re planning on setting these up, then you’ll want to make sure they’re easy to use and navigate – that way, your guests won’t have any trouble finding the links and forms. There’s nothing worse than having someone miss out on responding because they can’t find the right page!
These might seem like small steps, but trust me, they’re essential if you want your wedding website to be a success! So go ahead, take the time and show your web page some love – I guarantee it will pay off.
Concluding Thoughts on Creating a Wedding Website
Well, there you have it. It’s been a pleasure taking you through the necessary steps of creating your very own wedding website. Hopefully I’ve been able to underscore just how beneficial having a wedding website can be for both you and your guests.
From enhancing communication and organization, to providing a central space where everything from RSVPs to gift registries can be found, these websites offer a unique opportunity for couples to show off their special day with friends and family far and wide.
So make like a lemming and go do it! There are plenty of sites that offer great designs and features to get you on your way, so why not take advantage of them? Who knows, maybe even My Big Fat Greek Wedding will want to borrow some ideas 😉
Welp, that about wraps it up. I’m willing to bet that if you follow these steps, you’ll have an awesome wedding website set-up in no time. Don’t forget: have fun with it, and congratulations on all the upcoming nuptial bliss!
FAQs About Wedding Websites
Do people make websites for their wedding?
As a pro, I’ve seen my fair share of weddings – but creating a website for one? That’s a whole other ballgame. In today’s world of ‘modern weddings’, couples are looking for unique ways to share their love story and create something special. And what better way to do that than create a wedding website?
If you’re looking to create a wedding website, the good news is that it’s easier than ever. There are dozens of free and paid services like Wix, Squarespace, and The Knot that make setting up your site a breeze. Most of these services offer hundreds of templates to choose from and they’re all customizable. You can add photos, videos, music, and even a registry. Plus, you can create a custom URL for your site to make it easier for guests to find.
Once you’ve got your site set up, you can start adding details about the wedding. This is where you can really get creative. Include information about the venue, directions, accommodations, and more. If you’re having a destination wedding, you can even add a link to a virtual map so guests can explore the area. Be sure to include a countdown so people can plan accordingly – it’s one of the best ways to get people excited about the big day.
Finally, once your wedding website is up and running, don’t forget to promote it. You can add the link to your save the date cards, wedding invitations, and even post on social media. And if you want to add an extra element of fun, you can create an email list to give updates regularly. There are tons of possibilities and the sky’s the limit!
Creating a wedding website is a great way to share your love story and get everyone excited for the big day. So don’t be afraid to take the plunge and get creative – you never know what you’ll create!
How do I create a wedding website on Wix?
Creating a wedding website on Wix is no small task. I’ll be honest, this isn’t my expertise; I’m no web designer. But, with a little elbow grease, anyone can get the job done.
First of all, you’ll need to create a Wix account. It’s super simple, and all you need is an email address to start. From there, select your template; there are tons of options that you can customize to your liking.
A huge part of this process is making sure your website looks good. So, make sure you choose photos and color schemes that reflect your style. This will help ensure that the site looks great, and that your guests get the full effect when they visit.
Then, you’ll want to add content. This includes all the pertinent information about your wedding, from the date and location to the dress code. Your site should also give people an idea of the overall tone of your celebration—are you throwing a formal affair or a more casual gathering? Let your guests know what to expect by including fun details like a playlist or wedding hashtag.
Once you’ve finished getting everything set up, the only thing left to do is send out the link to your website. That way, everyone can get excited about your upcoming nuptials. Happy planning!
how to create a wedding website
Creating your own wedding website is easier than you might think. I’m here to walk you through the process step by step. First, you’ll need a domain name. This can be your last name, or something creative that reflects your wedding theme. Second, you’ll need to find a web hosting provider. Look for one that offers an easy-to-use website builder, to make the process smoother. Third, choose a template design and customize it with your own colours, photos and words. You can also add a blog and interactive map. Fourth, make sure to include your RSVP page so your guests can let you know if they’re coming. Fifth, add all the details guests will need like the dress code and your gift registry. Finally, double-check everything before you launch the site. Congratulations, you’ve just created your own wedding website!